

Aircon installation in Malaysia: what happens, step by step
By John · Updated 2026-07-25
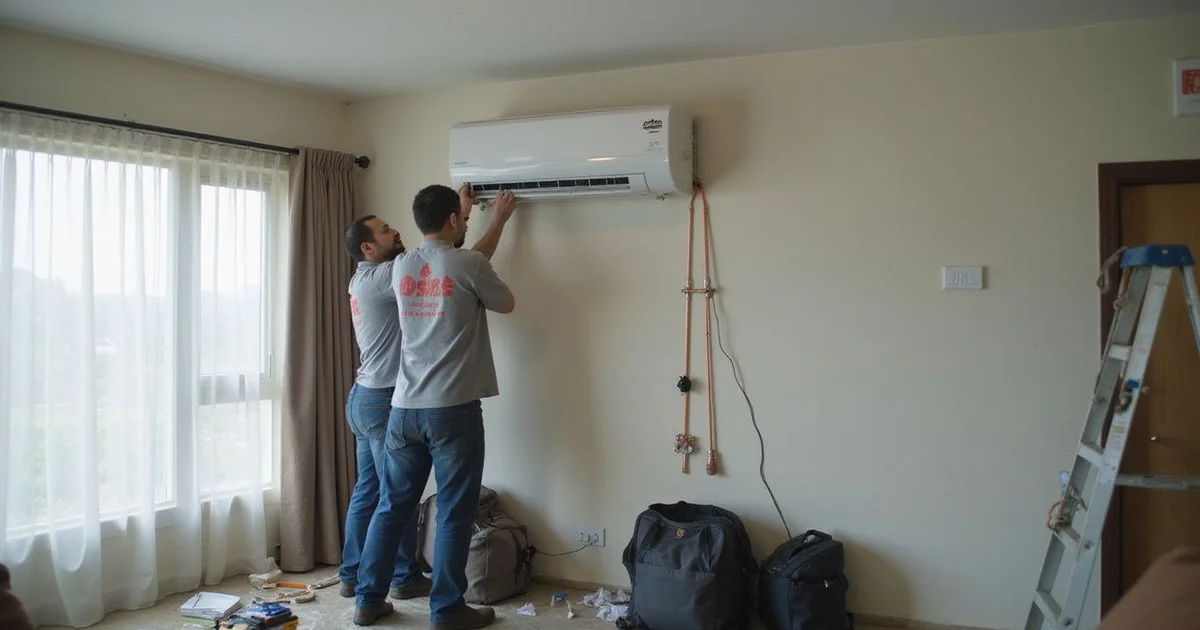
An aircon installation looks simple from the outside: a box goes on the wall, another sits outside, and cold air comes out. What actually happens in between those two points is where a good installation and a rushed one start to look very different, and most of it happens behind the wall where you can’t easily check it yourself.
Step by step
- Site assessment and sizing. A proper installer checks room size, sun exposure, and how many people typically use the room to confirm the right BTU capacity, rather than assuming based on what the last house had.
- Positioning. The indoor unit position is agreed, along with where the outdoor unit will sit and the piping route between them. Piping length matters here since anything beyond a standard run, often around three metres, usually costs more.
- Mounting. The indoor unit bracket is fixed to the wall, and the outdoor unit is mounted on a bracket or stand, checked for level.
- Piping and wiring. Copper piping is run and insulated between the two units, and electrical wiring is connected, sometimes requiring a dedicated circuit depending on your existing setup.
- Vacuum pumping. This is the step that’s easy to skip and hard to notice if it’s skipped. The technician uses a vacuum pump to remove air and moisture from the line before releasing refrigerant, which protects the compressor and keeps cooling efficient.
- Drainage setup. A condensate drain line is routed so water from the indoor unit doesn’t pool or leak through the ceiling or wall.
- Test and handover. The installer switches the unit on, checks cooling performance and refrigerant pressure, and walks you through basic operation before leaving.
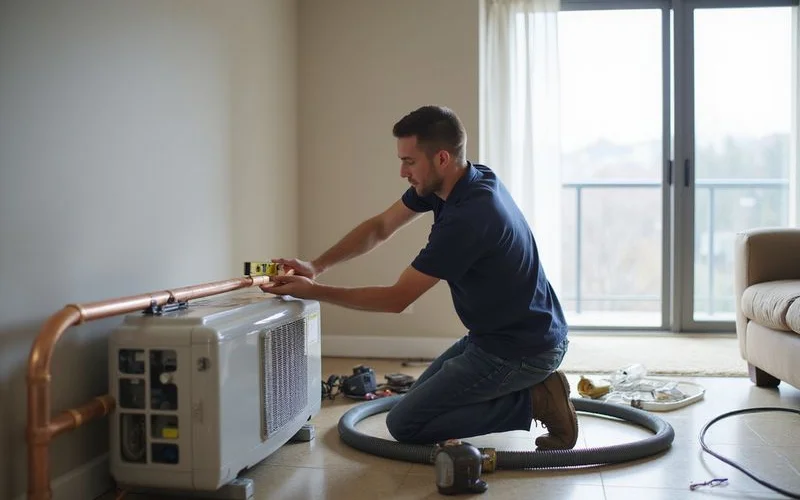
This sequence holds regardless of unit brand or capacity, though the time each step takes scales with the size and complexity of the job.
Timeline by job type
| Job type | Typical time |
|---|---|
| Single split unit, straightforward wall | 2-4 hours |
| Single split unit, high floor or long piping run | Half a day |
| Multi-split system, several indoor units | Full day or more |
| Ducted or commercial system | Several days to weeks, depending on scope |
Why the vacuum step matters more than it looks
Of all the steps above, vacuum pumping is the one most likely to get rushed or skipped entirely, because it doesn’t visibly change anything about the finished job. But air and moisture left in the refrigerant lines cause the compressor to work harder than it should, and the result usually isn’t obvious right away. It shows up weeks or months later as weaker cooling or, in worse cases, a failed compressor well before the unit’s expected lifespan. This is one of the clearest reasons a slightly cheaper quote from a rushed installer can end up costing more.
What being present during the job actually lets you catch
You don’t need to hover over the technician the whole time, but checking in at two points is worth it: after mounting, to confirm the position matches what you agreed, and near the end, before the panels go back on, to see the piping insulation and connections while they’re still visible. Once everything is closed up and tested, it’s much harder to verify these details yourself, so a brief look partway through costs nothing and gives you a real chance to flag anything that looks off before the job is called finished.
What to ask before booking
Once you know what the job should look like step by step, it’s worth checking that against what a fair quote actually costs; our aircon installation cost guide covers typical pricing by capacity and complexity. Confirm the quote includes standard piping length and states the extra cost per metre beyond that, ask whether vacuum pumping is a standard part of their process rather than an add-on, and get clarity on warranty terms for both the manufacturer’s parts and the contractor’s own labour. Our aircon installation hub lists contractors across Malaysia with review histories that flag exactly this kind of consistency, and browsing the wider directory homepage is worth it if you’re also comparing servicing options for once the unit’s in. Our ranking method explains how we weigh workmanship signals like these into a contractor’s score.
FAQ
- How long does a typical installation take?
- A single split unit install usually takes two to four hours for an experienced two-person crew, assuming no major wall drilling issues or wiring complications. Multi-split systems with several indoor units, or ducted systems, take a full day or more.
- Do I need to prepare anything before the installer arrives?
- Clear the area around where the indoor and outdoor units will go, and confirm the exact wall position you want in advance. If the job needs a dedicated electrical circuit, it helps to know beforehand whether your existing wiring can handle it or an electrician needs to be involved.
- What's the most commonly skipped step in a rushed installation?
- Vacuum pumping the refrigerant lines before releasing gas. Skipping this leaves air and moisture in the system, which shows up months later as reduced cooling and, eventually, compressor problems.
- How do I know the installation was done correctly?
- The outdoor unit should sit level on a solid bracket, piping should be neatly insulated and clipped rather than sagging, there should be no condensation dripping from indoor joints, and the installer should test cooling and check refrigerant pressure before leaving.
Related on this site
- Browse aircon installation providers
- What a new aircon installation costs in Malaysia
- Buying your first aircon unit for a new home in Malaysia
- Installing an outdoor aircon unit in a condo: strata rules to check first
- DIY aircon cleaning vs a professional chemical wash: what you can actually do yourself
- All guides →